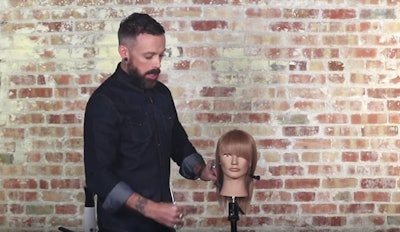
One of the greatest opportunities to make an impact on guests is with fringe. Andrew Carruthers, Director of Education for Sam Villa, shares a technique for creating layered tilted fringe with texture and movement that creates an unexpected focal point of interest.
Carruthers focuses on layering the interior of the fringe first and then refines the perimeter. “Try using a dark comb on light hair and a light comb on darker hair, it helps you to see your guide well because of the contrast of color,” says Carruthers.
Get the Look:
- Wrap dry hair to see the natural movement.
- Take a triangle section at the fringe area.
- The first section should start over the right eye for short to long going right to left – reverse it for going left to right.
- Take a vertical section from top of the triangle to hairline and elevate it 90° to actual head shape to layer while cutting.
- Using a Sam Villa Signature Series 7” Dry Cutting Shear, point-cut (fairly deeply) to the head shape to create fringe with a raw edge that is soft and hugs the head shape.
- Elevate the second section vertically, over-direct it to the first section and follow the guide.
- Take another section and over-direct it to the same original guide at the top of the right eye – because the starting guide is all the way on the right, it creates a lot of length on the left when over-directing. Finish triangle section.
- To refine the perimeter, pick up hair with the wide teeth of a Sam Villa Signatures Series Short Cutting Comb, and following the curve of the eyebrow, point-cut to desired length.


