Karla Valenzuela, a Sam Villa ambassador and professional stylist, explains the importance of a directional blow-dry.
It’s a technique that all stylists should master, and it comes down to layering product and holding the brush properly.
“Prepping hair with a directional blow-dry is so valuable, because it makes styles look fuller and last longer,” explains Karla Valenzuela, Sam Villa ambassador.
*NOTE: Similar alternate products may be substituted for those recommended.
Directional Blow-Dry Steps:
- Prep hair with Redken Iron Shape 11, a thermal heat protectant spray with medium hold, to lay the groundwork for longevity.
- Apply a generous amount of Redken Guts 10 in sections from roots to ends to build a strong foundation.
- Work with the edge of a Sam Villa Signature Series Polishing Paddle Brush–just the first two to four bristle rows. (The entire brush creates too much tension and will make hair harder to blow dry.)
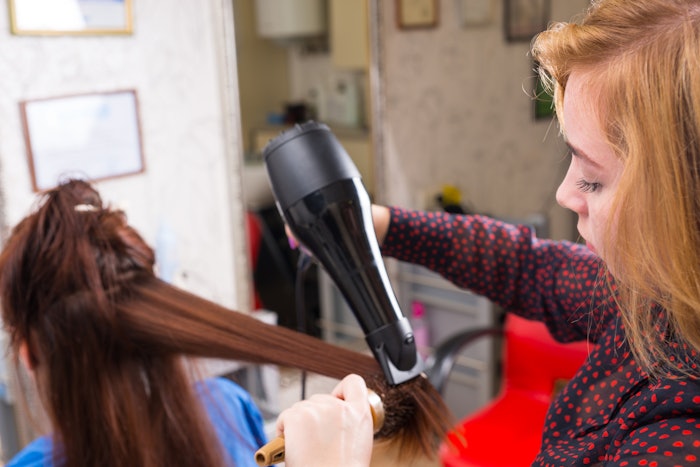
- Trail the brush with a Sam Villa Artist Series Professional Blow Dryer with concentrator nozzle, and dry hair in the direction the style will be built. Blow-dry at 90º off the scalp in areas where volume is desired.
Once finished, the texture can be seen, felt and already directed to the area where the style will be constructed.