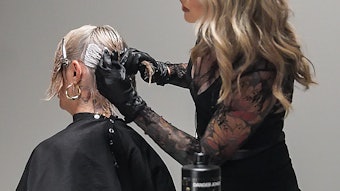
Hair: @jadajenkinsco
MUA/CD: @eunicekristen
Model: @kuir.agoot
MUA/CD: @eunicekristen
Model: @kuir.agoot
Photographer: @thomaskirk_
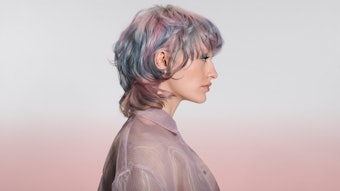
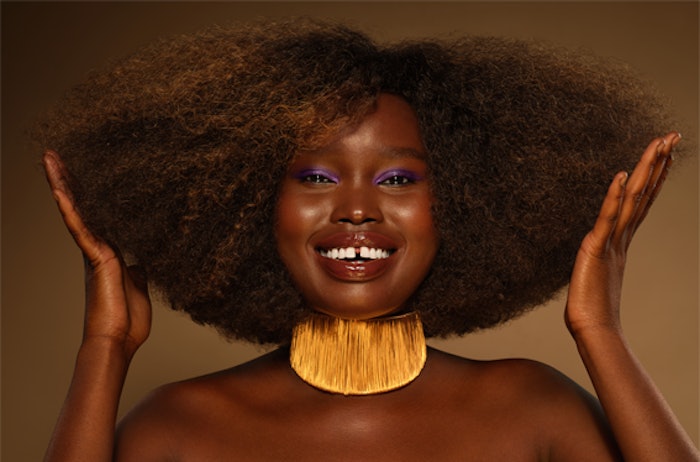
Jada Jenkins, Sam Villa ambassador, Mizani artist and L'amour de Rose salon owner, offers tips for photographing textured hair.
“This piece is actually a unit/wig I created years ago that I had just sitting around the house. I added some soft color to it to give it a slight pop and compliment her skin, and the background is dramatic, yet keeps the focus on the model,” says Jenkins. “It’s basically a wash and go style brushed out and shaped.”
Tips for Photographing Textured Hair:
- Prior to the shoot, add color and/or highlights to better define curls so they don’t get lost behind the lens.
- Have a vision, start styling that vision, but before completing look, stop and see what it looks like in the lens. Looking at hair in person vs. through the camera can give a totally different perspective.
- When vision and reality are sorted, proceed to styling hair – it could mean continuing to work towards the original vision or pivoting more to what’s really happening on set with the hair.
- Understand when hair has good frizz or bad frizz. Good frizz is when hair looks lived in, but not too perfect…a few hairs out of place are ok, in fact, good. Bad frizz prevents hair from looking done at all…it’s dry and not appealing to the eye.
- Have a tail comb on set to place hair – it’s great for clean strong parting and maneuvering hair meticulously without touching it too much to create unwanted flyaways.
“I love textured hair because it can be bold and make a statement. I truly believe all hair textures are beautiful and the world needs to see more of it!” Jenkins adds.