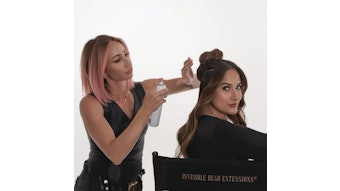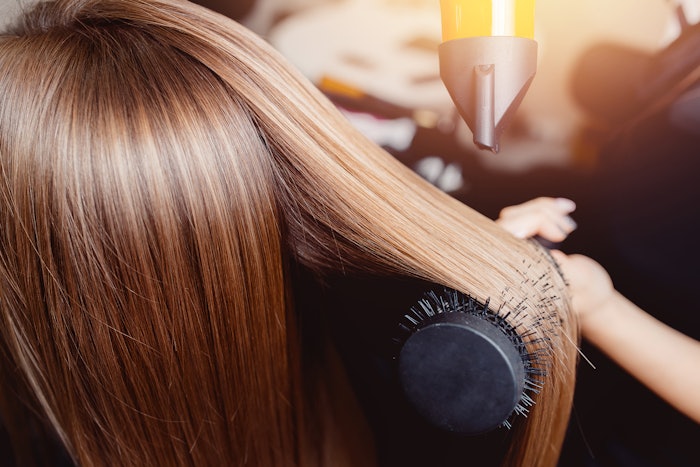
Molly Getz, stylist at Soto Signature Salon & Spa, breaks down her method for creating a bouncy blowout for her curly-haired clients.
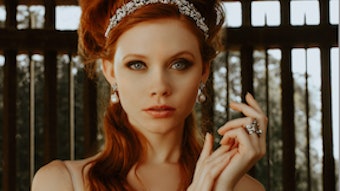
Courtesy of Parilov
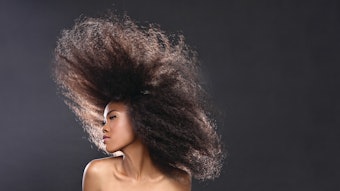
Sometimes your clients may want to switch up their hair look!
If your curly haired clients are looking to opt for a bouncy blowout, Molly Getz has you covered!
Below, Getz (@mollygetz), stylist at Soto Signature Salon & Spa, breaks down her method for creating a bouncy blowout for her curly-haired clients.
“Make sure to use enough heat for good smoothing and redirecting. Always allow the hair to cool. That’s what gives a blowout longevity,” explains Getz.
You can follow her step-by-step tutorial to recreate this look for your clients.
How-To:
- Apply leave-in treatment and heat protection spray of your choice.
- Use blow dryer and paddle brush to wrap dry hair to add volume.
- At the crown, wrap hair in the cardinal direction to maximize volume.
- Once hair is almost dry, switch to an oval round brush, which provides a lot of tension for really smoothing hair out.
- Point the nozzle of the dryer downward and hold brush in a diagonal position to create a slight wave and bend in the hair.
- Turn brush and rotate it away from the head down each section to add additional bend.
- Once at the center back of the head, change directions and rotate the brush/hair away from the face.
- At crown section, lift hair with the oval brush to create on base curls and pull hair in the opposite direction that it falls.
- Rake fingers through to break up waves.
“This blow out will last for days and days and days," Getz says. "It’s frizz-free and really full and shiny."