It's time to gear up your color bar and take your guests on a fabulous hair color journey towards blended results.
As a stylist behind the chair I am always looking for new products to explore that allow me to become a better artist. That is one thing I feel as professionals we should all seek out and stay consistent on.
Join this balayage hair journey with me as I walk you through each step of the process.
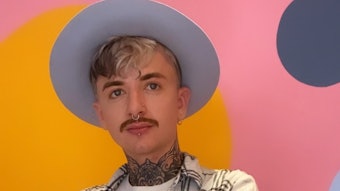
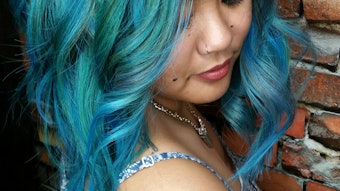
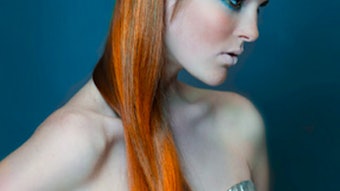
Let's meet our guest.

Beginning our color story we prepped our guest with some of my newest favorite tools at the color bar. To allow for blended results and . Salon reality application, that allows for a quick and seamless result.

Tools:
- Wella Blondor Free Lights has changed my life behind the chair as a balayage colorist. For our model I chose to use 40 volume. Mix 1 scoop of Free Lights to 1.5 OZ 40 Delevoper. Free Lights allows me to place the product exactly where I want to celebrate dimension and contrast without the worry of blending. It stays exactly where I want it to live. Say goodbye to product expanding and causing unblended results.
- My Product Club Electric mixer gives me the perfect consistency for my balayage Lightner and it is consistent when I need to mix new batch. While it mixes I love to road map (section) my guest color story so I'm ready to slay.
- Wella paddle for balayage give me the structure and foundation to apply the Lightner with purpose and manageability.
- Time to make a trip to the hardware store to pick up paint brushes. I love using the 1500 paint brushes for the flexible bristles and air product placements.

Now we have the tools let's begin the color process.
- Start with a standard four segment. Working off the guest natural partings.
- Begin in the nape with a diagonals back parting from the hair linr to just past the center of the nape.
- With out 1500 Paint Brush keep a firm grip to create a strong foundation. Soft strokes to allow for a seamless blend. **TIP** Load the product on. When working with open air Balayage you need to keep the hair fully saturated and wet.
- Continue up the head alternating sides with a diagonal back parting. Depending once you've places your strips of highlighting, take your Wella paddle to saturate the ends fully. Lift the hair all of way up so you can see product placement underneath. We really want to celebrate a even blond canvas at her ends.
- Once the back is complete. Starting on the high density side of her parting. Create a diagonal back section to make sure to hit the hair line in fine strokes to celebrate lighting up her hairline. Bring that section all the way back and saturate her ends.
- The strokes of your Lightner once you move to the front hairline and top of the end, need to be places with purpose. Our guest love the pieces at the front hairline. That is what they see the most.
- Process for 50 Minutes.

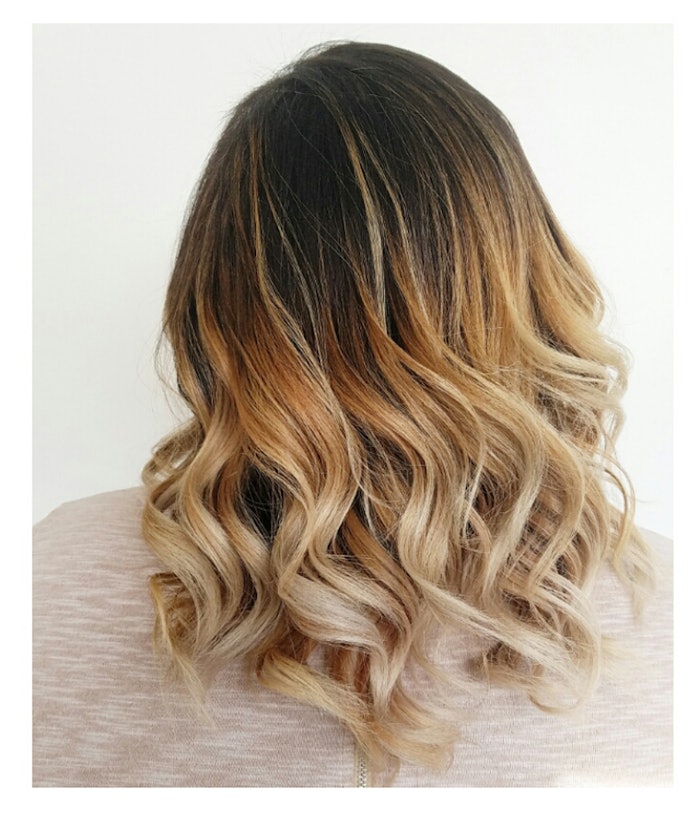
Time for the toning process. To cool down her warmth to a nice Khaki middies and a pale neutral ends.
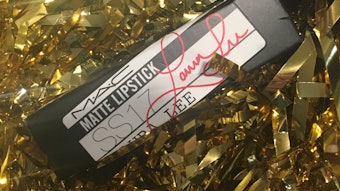
I chose to use 8A the color XG with 5 volume for mid lengths. (PAUL MITCHELL)
For middies to ends I blends The Demi 9BV 9R & Clear equal parts of processing liquid. (PAUL MITCHELL)
PROCESS FOR 25 MINUTES.

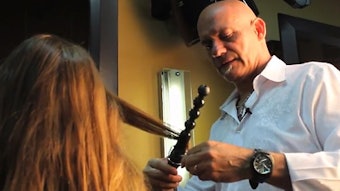
From extra curly to tousled texture. I used the Super Skinny Relaxing Balm and Super Skinny Serum by Paul mitchell to seal down her cuticle with a longevity style. High shine is always in.
My go to styling tool for tousled texture is my Neuro Style. The perfect tool to create beautiful waves. A stylist best friend that hearts up to 450 in 30 seconds. It keeps up with me behind the chair.
I hope you enjoyed our color story and I hope your guests color dreams come true.
xoxo
J Ladner