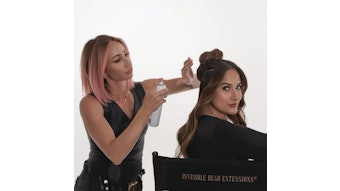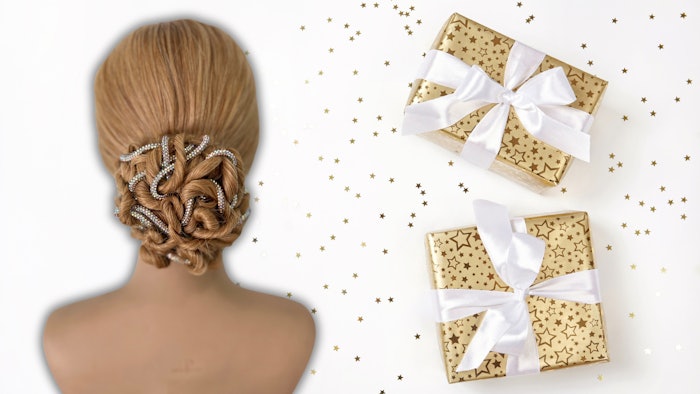
Hairstylist Anna Peters shares a tutorial for a twisted bun that requires the skills and eyes of professional.
Courtesy of Anna Peters
While it may be preferable to teach your clients some DIY holiday hairstyles during the busy season, there's just some looks that require the expert touch of a professional.
Hairstylist Anna Peters (@annas_hair_retreat), owner of re:TREAT Color + Hair Design and Studio, is sharing a tutorial for a twisted bun that is best left to the pros.
“It’s fun to let yourself get lost in creativity and create new looks for the season, it’s the perfect time to show your guests how multifaceted you are,” Peters shares.
Follow the step-by-step tutorial below to create this style for your clients looking for an elegant, festive touch for their holiday parties this season.
 Hairstylist Anna Peters, owner of re:TREAT Color + Hair Design and Studio, is sharing a tutorial for a twisted bun that is best left to the pros.Courtesy of Anna Peters
How-To:
- Prep hair with a directional blow dry by using blowout spray throughout the hair. Using a ionic blow dryer and paddle brush, direct hair off desired part following the head form to the lower nape until completely dry.
- To create a sleek smooth finish, glide a professional straightening iron over the strands 1” section at a time. Clip hair out of the way with dry sectioning clips to ensure there are no creases in the hair.
- Create a sleek low ponytail at the center nape of head secure with elastic.
- Using a small hair padding “donut,” slide two long sparkle cords through donut and secure at base of ponytail. Leave cords hanging with lengths of hair.
- Take a small section of hair close to the size of cord and twist until section begins to twist up onto itself. Once entire section is twisted, drape and secure with grips or medium hair pins across the hair padding. Do the same with the cord intertwining the hair and cord to desired visual balance.
- Keep each twist tangle free and clean of fly aways by sectioning each with a long tail comb and combing through a styling wax down each section for hold and shine.
- Continue this pattern of twisting and placement until out of hair and cord. Balance is key, try stepping away often to take a look and assess how it is coming together.
