They don't call it a “money piece” for nothing: These face-framing highlights can net you serious cash if you work them into your hair creations with intention and precision. The good news for you: Our experts share their best money piece practices— you’ll want to absorb each and every one for maximum moneymaking potential.

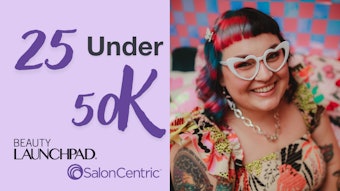
The Expert: Jamie Sea
- “Without depth, there can be no light,” Jamie Sea says. When creating brightness, she recommends creating some degree of depth neighboring your money piece so it can pop.
- “My hair-painting technique creates universal brightness around the hairline, so no matter which way the client parts her hair, she always has a seamless money piece,” she says. To achieve this, take 1-to-2-inch horizontal sections around the hairline, direct the sections away from the face, then paint a slant placement in this area as well as on the ridge of the section.
- “Saturation is the key to brightness,” Sea shares. To ensure maximum lift, make sure your product isn’t too runny, and paint with an ultra-light touch so you don’t wipe away product.
- Balayage can only give you about 3 to 5 levels of lift, with a warm to neutral finish. For a superbright effect (5 or more levels), Sea suggests babylights—microfine foiled sections of hair that can o er a more controlled and precise placement.
RELATED: Top Colorists Reveal Their Favorite Trends for Music Festival Season

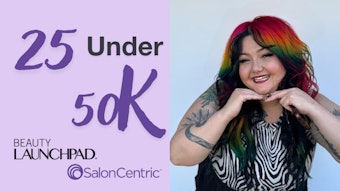
The Expert: Maggie May Hancock
- Determining thickness is key. Section out a thin rectangular section in the middle of where the client parts her hair, then divide it in half on her part and hold it tightly. “With this technique, you can visually see exactly how thick the highlight will be, and add or subtract hair as needed,” Maggie May Hancock says.
- When doing a full foil service or working with Level 6 and above, you can make a slice all the way to the scalp. “For anything below a Level 6, I’d recommend a backcombing technique to create a subtle blur at the base,” she says, adding, “Doing a slice to the scalp on lower levels can look harsh and cause aggressive grow-out and contrast, which makes your client feel like she has a stripe when she pulls back her hair.”
- Foil the whole hairline in the same manner that you do the money piece, so that the blonde connects all the way around. “ is strategy will also avoid that dreaded stripe when she wears her hair up,” Hancock explains.
- Section out your money piece and tone it at the very last step; it can sometimes grab toner more aggressively. “I formulate completely separately for just the front. Sometimes simply adding a dose of Clear to your original toner can do the trick as well,” she says.
This story first appeared in the May issue of Beauty Launchpad magazine. To receive the magazine, click here to subscribe.
[Images: Courtesy of Jamie Sea; Maggie May Hancock]


