Sam Villa, cofounder and chief creative officer of Sam Villa Company and global artistic ambassador for Redken, gives step-by-step instructions on how to achieve a "Bardot Shag."
“The number-one request from guests is layers, then a trim, and then a bob–but the shag is inspiring the bob now, and is sure to rob it of all the glory,” saysVilla.
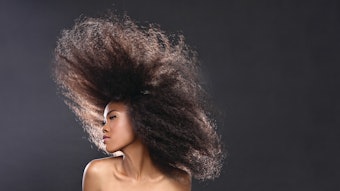
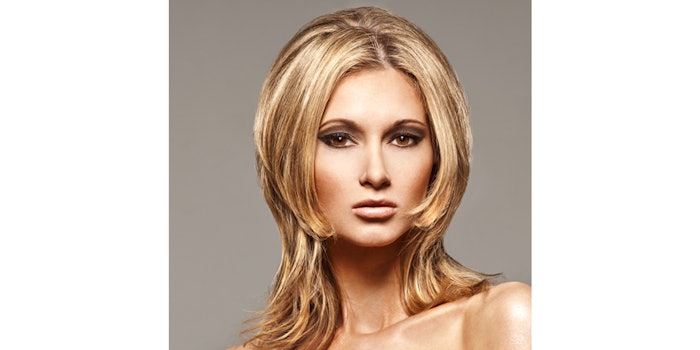
This shag is retro, yet has modern gentle edges and multilayered disconnection. Concealed short and long undercut layers work together to create a hidden secret that allows moldable volume to be bold and strong or soft and seductive.
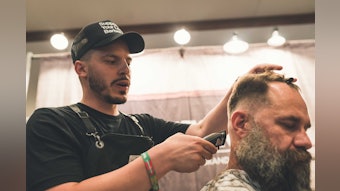
“The key here is controlling texture by not texturizing your guest’s hair every time she comes in for a cut. Instead, add variance by point-cutting at every other appointment,” says Villa. “These techniques allow a seasoned stylist to spend less time cutting, and possibly add more guests to their day, and novice stylists can adapt disconnection skills to create texture and volume in any style.”  Sam Villa cutting a Bardot shag
The "Bardot Shag" Step-by-Step:
- Step 1: Section 5 different areas. Note the profile view- side, top horseshoe section, center back and nape, note the curved nape section in back view.
- Step 2: Elevate the entire curved nape section 90° vertically with hand up against the head to ensure proper elevation. Cut a horizontal 90° finger angle with no overdirection with a Sam Villa Signature Series Dry Cutting Shear 7”.
- Step 3: Divide the back area in the center to create a desired guide. Elevate the entire back left section diagonally 45° and cut the entire left back section with a finger angle 45° diagonally; maintain the length at the perimeter hairline. Note the overdirection to center back.
- Step 4: Comb the right front side area vertically to set up the overdirection to right center back. Then, connect this into the right back area. Elevate 45° diagonally and cut a diagonal 45° finger angle. Repeat the same in the left front area, combing vertically to set up the overdirection in the left front.
- Step 5: Pause and wrap-dry the entire shape prior to cutting the top horseshoe. Note profile view; the top horseshoe area will be cut at least 2 inches longer than the underneath center back (do not connect). Work with horizontal sections across the top horseshoe section, elevate 90° vertically, and deep point-cut to create a soft diffused horizontal line.
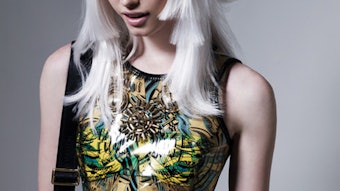
“The past is where we learn, the present is where we apply it. The timeless, effortless-looking, layered volume and fringe of this Brigitte Bardot-inspired shag is the perfect example of how technique can deliver a modern style rooted in a past trend that’s full of the big volume and soft lived-in layers women want today,” explains Villa.