“It’s called a mullet. Business in the front. Party in the back.” While she may have said that quote back in the day on “Hannah Montana,” Miley Cyrus is now of just many celebs that are rocking the style that will never die – the mullet. The style has recently trended on social media, with 13B views on TikTok, according to All Things Hair.
Defined by a hair cut shorter at the front, top and sides but left longer at the back, the mullet was popularized by David Bowie in the ‘70s and Joan Jett in the ‘80s. With Y2K and grunge aesthetics making a comeback, it’s no surprise that the mullet is back in style.
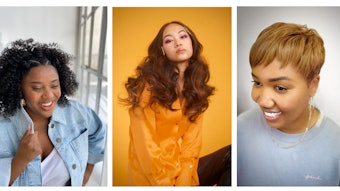
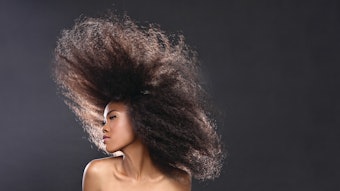
Get inspo for creating this genderless style from our followers, and read on for a tutorial for bringing this look to life.
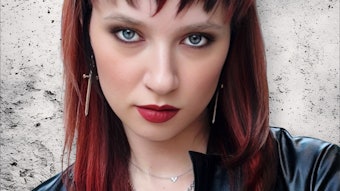
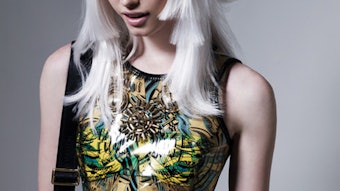
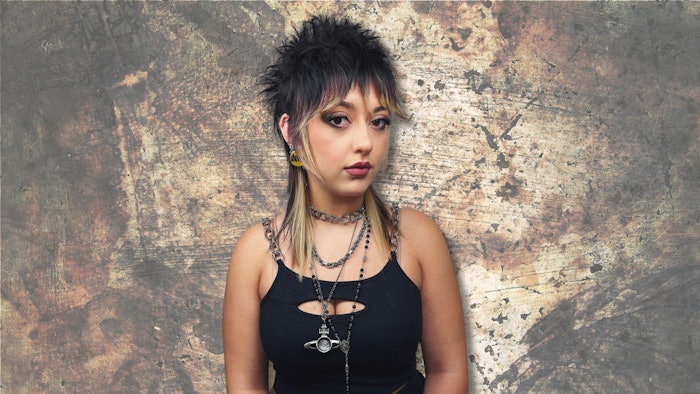
Andy Judd (@andy_doesyourhair), Beauty Launchpad 25 Under 50K winner in 2022 and associate creative director at Local Honey in Nashville, TN, shares a tutorial for how to create a grungy, modern day mullet.
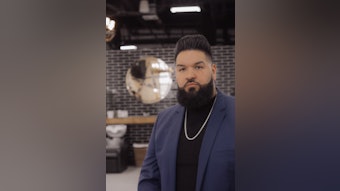
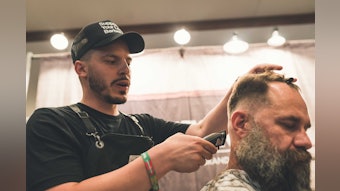
 Courtesy of @andy_doesyourhair
How-To:
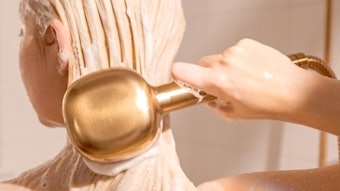
- Cleanse hair using cleansing cream of your choice. In this case, I used New Wash from Hairstory.
- Apply moisture prepping products. I used SMOOTH.AGAIN and YOUNG.AGAIN from KEVIN.MURPHY.
- Section the highest part of the head down to right behind the ears to separate the hair front from back.
- In the front, create a rectangle from recessions to back parting from the previous step to create quadrant 1. Clip the side sections, quadrants 2 and 3, back.
- In quadrant 1, take a horizontal subsection (a) of around and inch to two inches thick — This will start the bangs framing.
- Take your razor, in this case I’m using the Feather Styling Razor from Jatai, and pinch together the center hair that lives in between the brows and create the desired length to start the bangs. Cut the following hair on each side short to long using the center as your guide.
- Take a second horizontal subsection (b) of the same density. This look is technically very disconnected, while having visual balance. Take the center of subsection (b) and pinch together. Disregard your previous section, and use your clients hairline as the guide. Cut short to long from the center of both directions – The goal is to make an upside down V.
- Repeat the last step, creating another subsection (c). That will finish quadrant 1.
- Take down side quadrants 2 and 3. On each side, create a diagonal back subsection (a) from recession to the front of the ear. Use the longest point of bangs as a guide and cut just shorter from short to long to seize length that will hug the face. Take that same section at zero elevation, and cut like you would a bob from ear to longest point previously made.
- On both sides, create diagonal back subsection (b) and use quadrant 1, subsection (b) as your guide. This will be very disconnected. Cut out around the ear short to long.
- Repeat with the last subsection (c) using quadrant 1, subsection (c) as your guide. These pieces will be longer than subsection (b) to create the frilled neck appearance.
- Onto the back: Part the back horizontally from top of ears to occipital. Drop the length, cut the center of the section as your guide and create an upside down V, having the hair on pushing forward be the longest.
- Take the top section and create 4 pie sections, using diagonal backs on the sides and merging the remaining two into the crown upside down V.
- Over direct the diagonal back sections toward the face. Use quadrant 1, subsection (b) as your guide and cut short to long.
- Take the remaining crown section, elevate 90 degrees and cut short to long from front to back.
- Go through the shape and remove weight where needed.
- Using a flat brush, blow out the bangs, side and back perimeter. Spray salt spray into the short top sections and diffuse. In this case, I used R+Co Sail.
- Refine where needed.
To see more mullet styles, read Beauty Launchpad's January/February 2024 digital magazine.