Create a free Beauty Launchpad account to continue reading
How-To: Butterfly Cut
Nov 1st, 2023
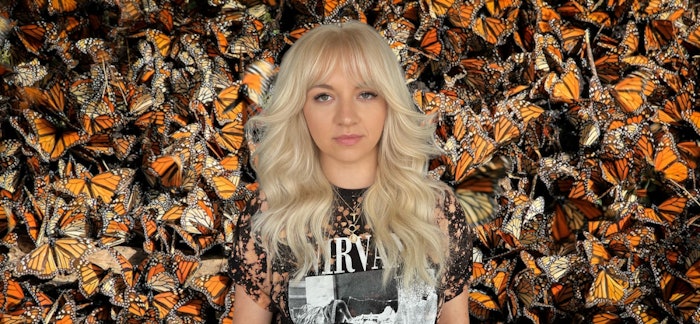
Amanda Short (@saltymanes) shares how to bring a gorgeous, textured butterfly cut to life.
Courtesy of Amanda Short
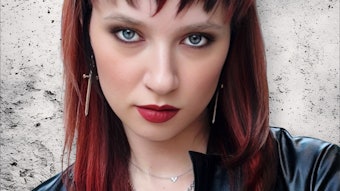
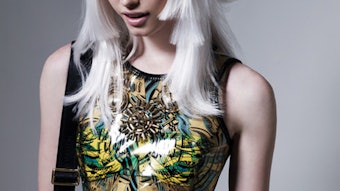
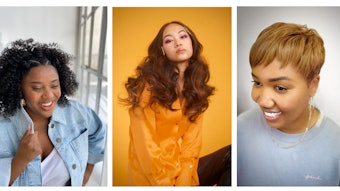
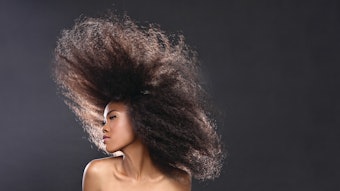
Textured, layered cuts are back in style as is Y2K aesthetics, thus the butterfly cut has emerged. A layered cut parted in the middle or to one side, the butterfly cut features top layers done around the face and the bottom section falling below the shoulders. The style ends up resembling butterfly wings, fluttering in the wind. The beauty of this style is that it works for all hair types, textures and lengths. Amanda Short (@saltymanes) is a Myrtle Beach, SC-based hairstylist that specializes in blonding and hair extensions. She created a gorgeous butterfly cut for one of her clients and shares a tutorial for bringing the look to life.
“My client’s unique style and love for music inspired me to create a custom look that matches her everyday style—giving her butterfly wings,” Short shares.
How-To:
Amanda Short (@saltymanes) is a Myrtle Beach, SC-based hairstylist that specializes in blonding and hair extensions. She created a gorgeous butterfly cut for one of her clients and shares a tutorial for bringing the look to life.Courtesy of Amanda Short
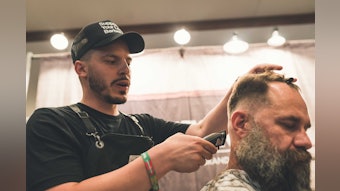
Begin with a consultation to decide the desired fringe and face frame lengths for your client.
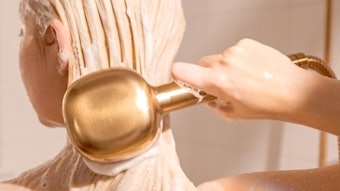
Shampoo and condition with Redken Acidic Bonding to maintain and strengthen client’s hair. This is my favorite for all my blonde clients!
Start by sectioning towel dried hair into four sections. Split the hair straight down the middle and then section out going forward from behind the ear.
Create your guide for the fringe area for desired starting length. Split fringe into two sections. Elevate to 90 degrees and overdirect to the opposite side until finished cutting. Repeat on the other side.
Take small subsections from the side and overdirect to meet your fringe guide, lower your elevation as you go and cut straight down until you have finished. Repeat on the other side.
Take small subsections from the back and overdirect to the front guide, follow the line down the hair at a lower elevation to keep the length. Continue until the back is complete. Repeat on the other side.
Point cut the bottom length to create texture on the ends.
“The combination of short layers in the front with long layers in the back are a perfect pairing for
lovers of the classic 90s blowout. It’s good for all hair types and can be modified to any client’s style.”
 Amanda Short (@saltymanes) is a Myrtle Beach, SC-based hairstylist that specializes in blonding and hair extensions. She created a gorgeous butterfly cut for one of her clients and shares a tutorial for bringing the look to life.Courtesy of Amanda Short
 Amanda Short (@saltymanes) is a Myrtle Beach, SC-based hairstylist that specializes in blonding and hair extensions. She created a gorgeous butterfly cut for one of her clients and shares a tutorial for bringing the look to life.Courtesy of Amanda Short