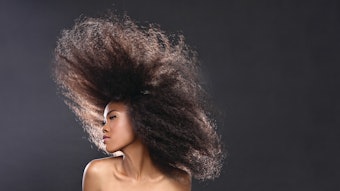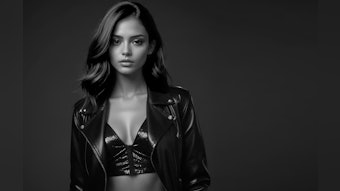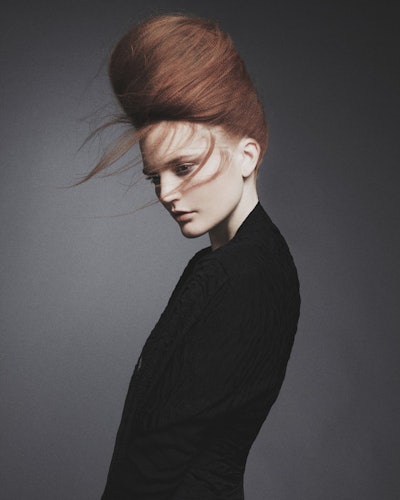
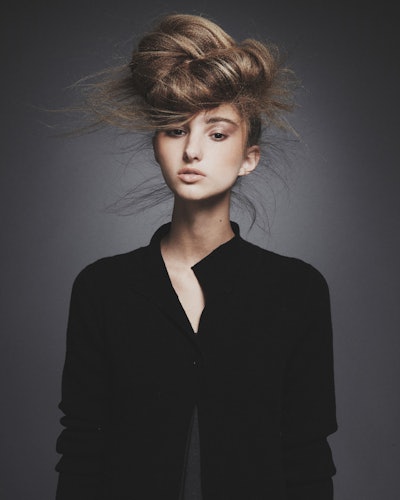
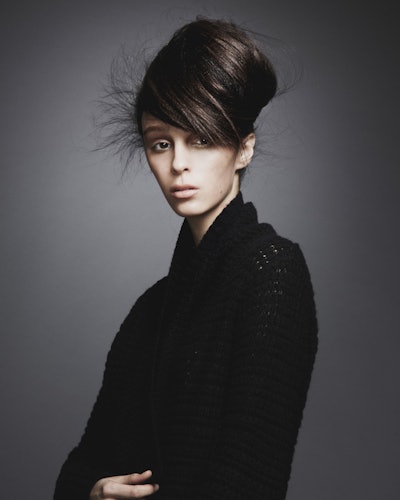
When Redken Artist Lindsey Olson created a collection called Pure and Elegant for NAHA in 2015, she created textured shapes with control, precision, and just the right amount of lived-in beauty to make them extraordinary.
Olson wanted a consistent thread among the three looks, so she positioned the shapes in the front and on top to catch the eye. The looks are based on classic hairdressing shapes with unexpected texture for a fresh vibe.
“Volume placement definitely varies depending on face shape. Focusing volume on the top and front defiantly elongates the looks. Going up instead of wide was actually the most flattering direction to work with,” explained Olson.
Complimenting Face Shape
- Kristina (redhead) - had a very balanced face shape and strong jaw line, so a very full and tall shape complimented her.
- Tamara (light brunette) - had a wide jaw line, so Olson focused on creating narrower volume (versus wider) on her forehead to balance the shape.
- Chantell (dark brunette) - had a smaller slightly round face, so Olson created an exaggerated slightly off-set shape with round characters, but kept the top slightly square to balance her round face.
Securing Shapes
Olson says it’s the foundation and preparation to the hair that make it possible to create many different shapes. She likes to prep hair with Redken guts 10, directionally blow dry and then compresses it with a Sam Villa Textur Professional Texturizing Iron to create a solid foundation.
- Kristina had a form to build the shape on, so after hair was prepped with a directional blow dry with Redken guts 10 and compressed all over with the Sam Villa Textur Iron, hair was wrapped in different directions around the form.
- Chantell started with an offset ponytail created with a directional blow dry with Redken guts 10. Then, the ponytail was compressed with a Sam Villa Textur Iron, and weft extensions were added and also compressed with the iron to make the ponytail even longer and larger.
- Tamara was similar to Chantell, except her ponytail was placed in the center of her head.
“I’ve learned that texturizing hair before sculpting allows you to add an element of volume and control. I use the Sam Villa Textur Iron to create quick long-lasting texture which gives me more options when building and securing shapes,” says Olson. “I also really like using Redken Powder Grip 03 in conjunction with the Textur iron because it aids in the molding of the shapes.”
Photographing Shapes
- Take a test shot while in the middle of working. Shapes read completely differently when viewed from other angles. Take time to look at what is actually happening instead of focusing so much on what you want to happen.
- Finishing is about letting the hair move and compliment the model’s face. It’s great to have an idea of what you want, but you also have to pay attention to the person sitting in the chair and their features, that is when you can capture some beautiful hair.
- Communicate with the photographer leading up to the shoot! “I worked with Nico Iliev and he has so much talent and experience, he was able to direct the models and take the perfect shots. I would not have any of these images without him!” says Olson. “During the shoot, I continued to loosen pieces around each look, using my fingers to keep it natural and creating strong airy texture. Adding wind completely made the look even better!” she adds.
“I push myself to accomplish new things, as I know challenging myself helps my development and growth and only makes me a better artist and hairdresser,” added Olson.
[Credits: Collection: Pure and Elegant (NAHA 2015 Contemporary Classic & Texture Category) | Photographer: Nico lliev | Hair: Lindsey Olson | Makeup: James Vincent | Wardrobe Stylist: Miranda Cazin | Models: Fenton]
