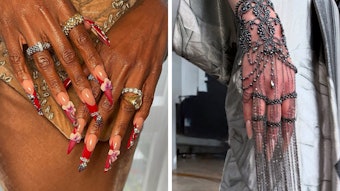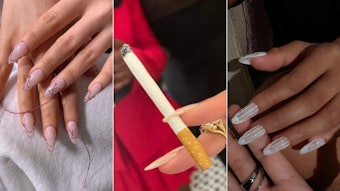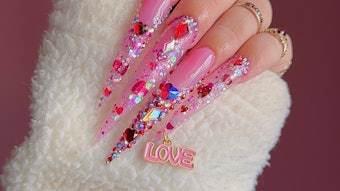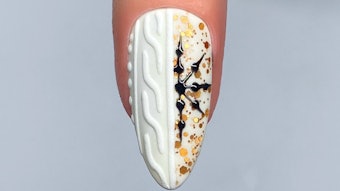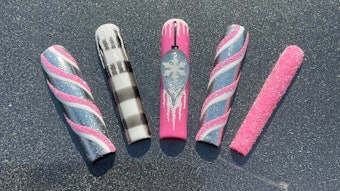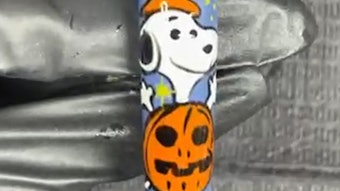
Now available for shipping in the U.S., Twisties is making nail art easy, accessible and affordable with its patented nail art film! Created by Donna Pronk, Twisties is made for anyone who loves beautiful, high-quality nail art, but doesn’t have the time or skills to do it themselves. With a wide range of designs and patterns, Twisties is perfect for the busy professional, beauty lover or someone who just wants to skip the salon hassle. To learn more about how to apply these unique, ultra-thin, flexible and photorealistic nail art films, Pronk gave us a step-by-step tutorial, with nail artistry by Roxenne Nails (@roxennenails).
Twisties Tutorial
Twisties is the effortless way to create high quality nail art. No hassle, no complicated tools. Just peel, place and perfection!
What You Will Need:
- your favorite Twistie design
- rubber base and top coat
- a nail file and a scissor
- (optional) tweezers
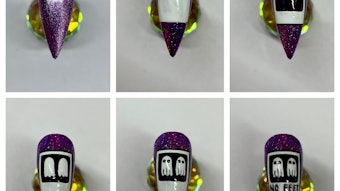
1. Ready, set — prep!
Prep your nails as you normally would before applying your gel polish or creating nail art. This can be a base of gel, polygel or acrylic — anything you would use before starting your nail art. Apply a rubber base of choice, and cure it under a UV lamp before moving to the next step. This will ensure the Twisties stick to the nail perfectly.
 Step 1: Prepare your nails for rubber base.Courtesy of @roxennenails
2. Pick & match
 Step 2: Paint the rubber base onto your nails, choosing the Twistie that will fit your nail best.Courtesy of @roxennenails
3. Peel & place
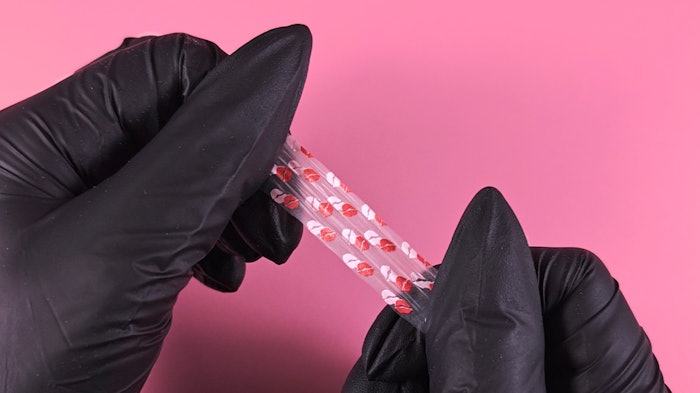
Peel your twistie off the sheet. Use tweezers for extra precision. Place it onto the sticky layer of your rubber base, starting from the cuticle and pressing down over the entire nail.
 Step 3: Peel the Twistie and place.Courtesy of @roxennenails
4. Smooth & set
Not quite right? No worries! You can reposition your Twistie as much as you need. Smooth it out, stretch it and make sure it hugs the nail tight and perfectly.
 Step 4: Cut off the edges and then stretch it out, smooth and make sure it hugs the nail tight.Courtesy of @roxennenails
5. Seal the deal!
Apply a top coat to protect your twisties — don’t forget to seal the edges! Cure it under a UV lamp. Need to file or cut? Do it carefully, then apply a second layer of top coat for extra durability.
 Step 5: Apply a top coat, seal the eduges and cure under a UV lamp.Courtesy of @roxennenails
6. Enjoy your Twistie!
The twistie is now perfectly applied and ready to rock wherever you go, lasting as long as your nail and rubber base coat do.
 Step 6: Enjoy your finished Twistie nail art!Courtesy of @roxennenails
To learn more about Twisties, visit their website or follow the brand on Instagram (@mytwisties).