Courtesy of @beckabradshaw
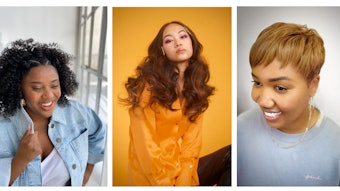
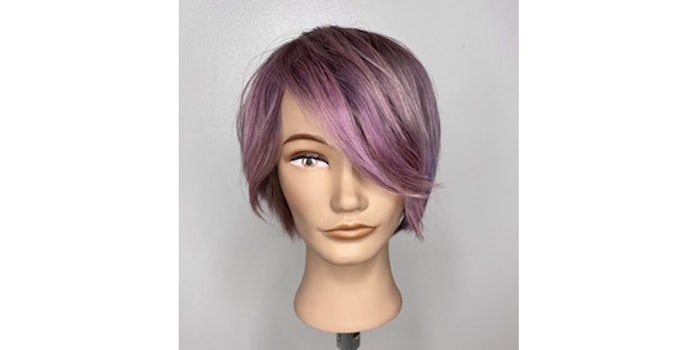
The Bixie, a combination of bob and pixie haircuts, is trending!
The Bixie can be worn in different styles, including straight, wavy, curly and coily hair.
“Whether it’s the resurgence of ’90s culture or just the desire to get a look that’s freer and easier than the heavily styled bobs and pixies of late, the Bixie is an exciting new shape to learn that has ample room for customization for all hair types and head shapes,” says Becka Bradshaw, salon owner, Sam Villa ambassador and Redken artist.
Attributes of a Bixie Cut
- Shorter than chin length
- Texture is used to give a cool shaggy effect
- Fringe area can be short or long
- Nape area can be shaggy or clean
How-to get the perfect Bixie cut:
- Lightly mist the nape area with a leave-in conditioner/cutting lotion such as Redken One United.
- Divide that section into two sections down center back.
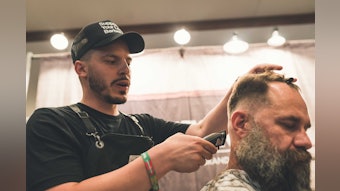
 Courtesy of @beckabradshaw
 - Using diagonal forward sections, elevate each section to a horizontal 90° angle. Finger angle remains even with a diagonal finger placement to mirror the section.
- Use a Sam Villa Signature Series Razor with a medium stroke to remove length and add texture. This area should be three to four inches long to hug the shape of the neck.
- Personalize the perimeter—loose and wispy or clean. The razor can be used to lightly surface-cut to remove weight and length, or a shorter shear works well for precision-cutting and detail work in small areas such as the nape.
- Create a detached area above the nape to visually blend yet allow movement. Release the back section and cut the length with no elevation to match the perimeter detailed in Step 2.
- Divide the back into four sections down center back and back corners. Each of these sections will be compressed using the perimeter just cut as the guide.
- Elevate above the horizontal 90°. Sections can be overdirected slightly back to push hair forward. A razor or shear can be used–if using a shear, deep point cuts are recommended to promote movement. The end result is rounded, softer layers that hug the shape of the head.
- The two sides will be cut using overdirection. Stand in front of the guest at corner front (by the eye) and elevate to 90° horizontal.
- Using a piece from the top of the back section as a reference point for length, compress this entire section vertically and cut top to bottom. Using a razor with a longer stroke allows for removing length and weight in one step.
- For the crown area, take pivotal partings starting at center back rotating toward the front of the head. Use the section below to find the guide for each section, elevate to 90° vertical and cut with an even finger angle. This creates the shortest pixie pieces on top, around three to four inches.
- For the fringe, compress the section to center front and elevate 45° above the horizontal 90°. Finger angle should go in at the top of the head to allow for shortness at the top or remain even to give a heavier fringe area.
- Customize the fringe perimeter the same as the nape. This elevation allows the fringe to be worn sideswept or parted in the middle for style versatility.