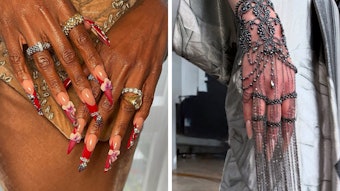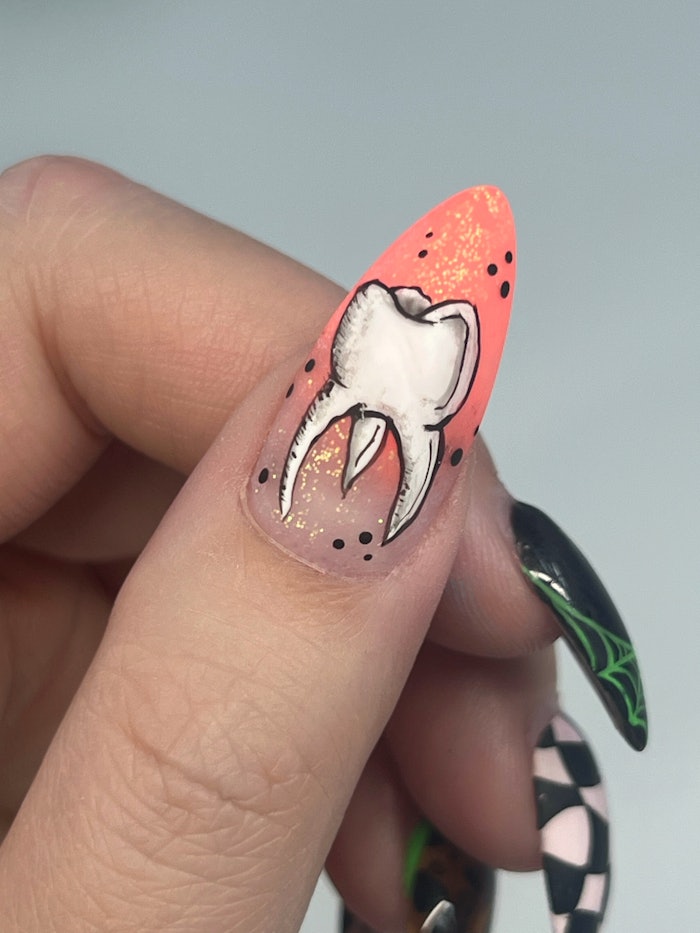
Hope Jung
Hope Jung (@hopejungnails), a nail technician in Milwaukee, Wisconsin and a winner of the 30 Over 30 cohort, shares a step-by-step tutorial for creating a spooky ombré tooth nail just in time for Halloween.
Design Tips
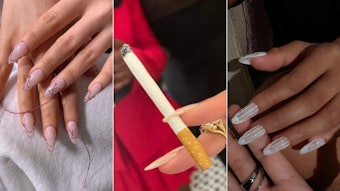
- Start with a matte or finished filed nail. This will allow your ombré to blend more seamlessly.
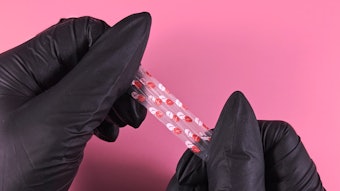
- Encapsulating glitters with Jimmygel and buffing smooth creates a barrier keeping nail art on top smooth
- Work your black gel paint into your Stripy brush so your lines are sharp, and movements can be quick.
- With the Light Elegance Bling Brush gently apply Trippy Buttercream at the tip of the nail and blend towards the cuticle area stopping just over halfway.
- Using Go-Go Boots or a translucent glitter gel, apply over the entire nail to further blend your ombré.
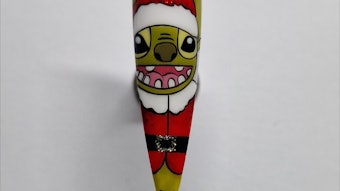
- With the Stripy Brush and a small amount of white gel paint sketch out the outline of your tooth.
- Once satisfied with the shape fill in your outline with white gel paint. (This does not need to be perfect as it will make the tooth more realistic).
- Outline the tooth with the black gel paint. Having some wave and line thickness variation will give your design an eerie feeling.
- Mix black gel paint and a clear topcoat to create a smoky black for adding shadows.
- With the smoky black add dimension along the edges to emphasize the divots and give shape to the tooth.
- Accent your design with little dots or starbursts for a fun little pop.
- Top with your favorite matte enjoy your spooky cute tooth nail design.