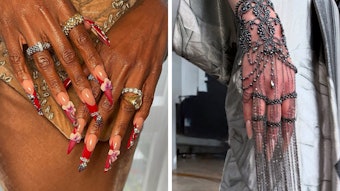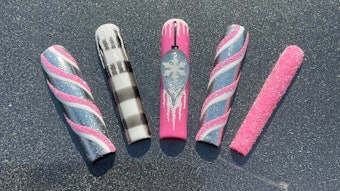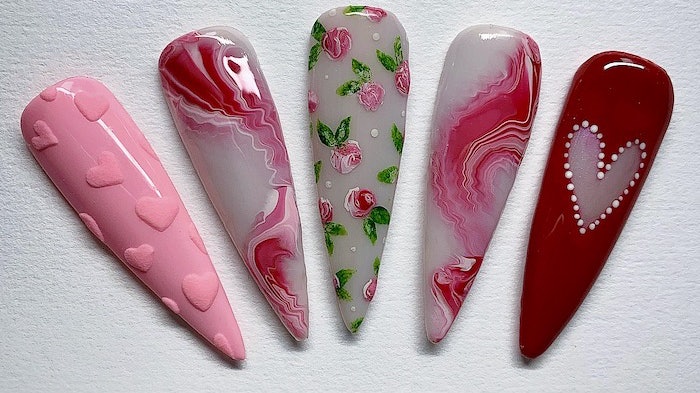
United Kingdom-based freelance nail artist Amy Rickaby created a set of stiletto tips inspired by heart-shaped candies, rosy bouquets and handmade cards.
“Classic Valentine’s Day hues, my signature smoky marble and vintage rosebuds brought this design together and meshed various textures,” says Rickaby. “I love a mash-up of nail styles inspired by a theme or color palette.”
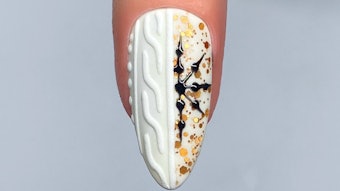
Marble Nail Design
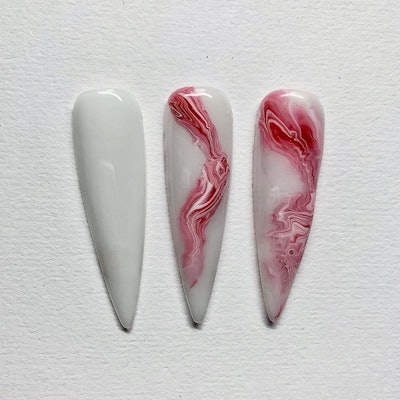

Step 1: Apply two coats of sheer white gel polish. Cure.
Step 2: Apply a line of pink, white and red gel colors side by side on a color palette. Use a dotting tool to mix the colors in a zig-zag motion.
Step 3: Apply a layer of blooming gel onto the nail, but do not cure. Use a gel brush to scoop up the mixed color and apply it to the nail, slowly wiggling the gel off the brush with light pressure.
Step 4: Allow the colors to disperse to create a smoky marble effect, and then cure. Finish with gel top coat.
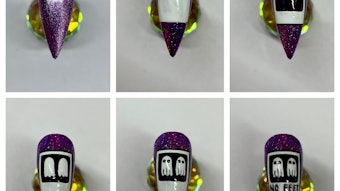
Rosebud
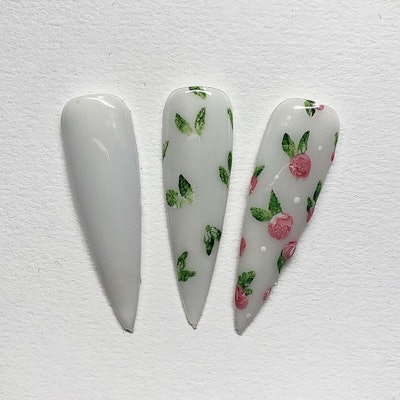

Step 1: Apply two coats of sheer white gel polish. Cure.
Step 2: Paint leaves sporadically across the nail with dark and light green acrylic paint. Use the two colors together to create depth.
Step 3: On a palette, blend white, red and pink acrylic paint and use it to paint rosebuds next to the leaves on the nail. Once dry, finish with gel top coat.