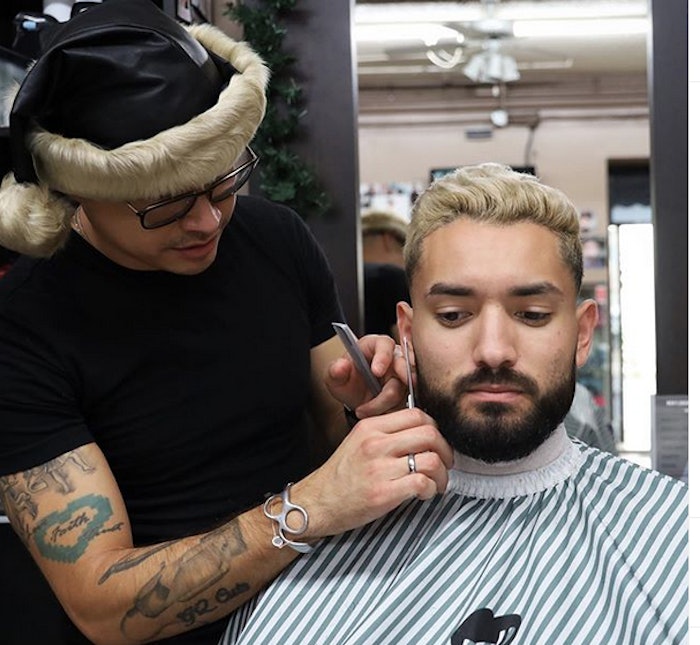
In this video, Johnny B Hair Care international educator Gabriel "GQ" Quinones creates a fade and blends the shortest part of the haircut into the model's facial hair. The beard is blended into the haircut before any facial shaving takes place. Here's a walkthrough the two sections that create the look.
Section 1: Create the haircut
Create the skin fade first, which creates more contrast in the haircut and the beard blend.
Step One: Use a balder clipper to remove bulk and prepare the blend to be taken to the skin.
Step Two: Use a clipper with a lever to move on with the blending. Set the clipper at zero (where the two blades are aligned) and blend from where you left off with the balder moving upward.
Step Three: Turn the lever up on the clipper to create a half-size level. (This is also considered turning the lever open.) Continue working upward from where you left off in the last section. Using the half-lever turned up, blend from zero moving upward.
Step Four: Turn the lever back down to zero. Then add a number 1 attachment/guard to the clipper and continue the same steps you've been working on. Continue working upward from where you left off in the last section. Using the one attachment on the clipper, blend moving upward from where you left off with the zero.
Step Five: Repeat steps 2 and 3 using both the zero and half levels to polish off the fade.
Step Six: Use the Johnny B Fade Comb to remove hair and blend at the same time. If a weight line or shadow is left above the section where the number 1 attachment was used, comb out the hair above the area and remove weight.
Step Seven: In the area where you originally used the balder clipper, Use an electric razor/foil razor to take the haircut style much closer to the skin. Since the hair was removed and cut really short, the electric razor removes more hair in this section.
Step Eight: Use the trimmer to blend any weight lines or shadows that may still be present in the area above the electric razor.
RELATED: Johnny B Introduces New Boys Grooming Line
Section 2: This is where you focus on the facial hair, blending in the reverse steps as described in Section 1.
Step One: Use a number 1 attachment to remove hair in the sideburn area below the fade. This area can be in different sections of the head, but primarily this blend is below the earlobe.
Step Two: Remove the number 1 attachment from the clipper and turn the lever up to create a half-size. Work the blend above the section where you left off when you were using the number 1 attachment.
Step Three: Turn the lever down to zero level and continue removing more hair from the face, working upward to connect into the area of the haircut that was taken really short.
Step Four: Use the trimmer to connect the area of the haircut where the electric razor was used.
Step Five: Repeat steps two and three in Section 2. Take this time to blend any weight lines or shadows that may still be present.
Step Six: Take a step back and look to see how the shortest length of the haircut blends into the facial hair. If necessary, continue to work on the blend of the haircut as well as the transition blending into the beard.
[Image and Video: Courtesy of Gabriel "GQ" Quinones]


