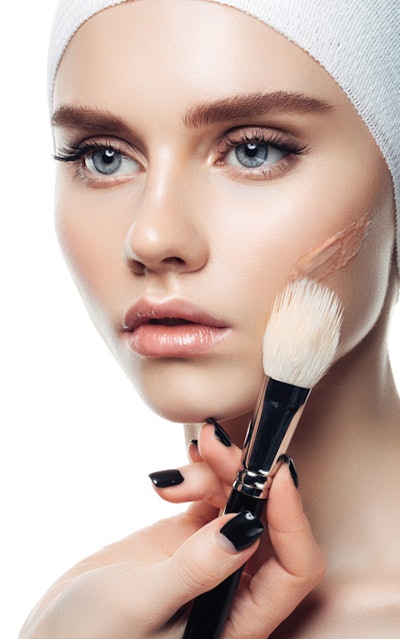
Looking to chisel and sculpt facial features to perfection? Maybelline New York global makeup artist Grace Lee and editorial makeup artist Angelique Velez offer their contouring hacks.
1) To start off right: Blend! There’s nothing worse than telltale contouring edges. “Always blend until you don’t see any visible harsh lines!” Lee says. She points to a foundation brush or blending brush to help seamlessly blend edges. Adds Velez, “I prefer using small brushes because I’m able to manipulate them better. Really: Anything cut at an angle works best.”
2) For a quick-and-dirty contour: ink the number three. “Use your darker color to contour by creating a ‘3’ shape down the side of the face. Start at the temple, swoop down the cheek and swoop back along the jaw line,” Lee says.
3) To slenderize a sniffer: Select a contour powder or cream three to four shades darker than the natural skin tone, and then “paint the color on each side of the bridge of the nose” using either a small fan brush or blending brush, says Velez. e closer the lines are together, the slimmer the nose will appear, she notes.
4) To thin the chin: “Contour directly in the middle of the chin using a taupe-tone pressed powder or bronzer,” Velez shares. If you seek to slenderize the chin further, apply the contouring powder to both sides of the jaw area and down the sides of the chin.
5) Swap in concealer: Don’t have contour-specific palettes? That’s fine: Use your range of concealers. “I like to dot out a dark shade like a map where I want to contour,” Lee says. (She prefers Maybelline Face Studio Master Conceal Camouflaging Concealer.)
![[GIVEAWAY] Clinically-Proven, Natural Hair Restoration Supplements](https://native-x.imgix.net/allured/65f1fd65b40d3e0001de7f24/yhumbnail%20image.jpg?crop=focalpoint&fit=crop&fp-x=0.5&fp-y=0.5&h=191&w=340&auto=format%2Ccompress&q=70)
