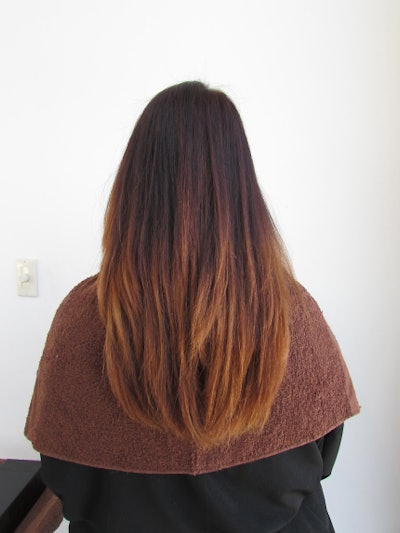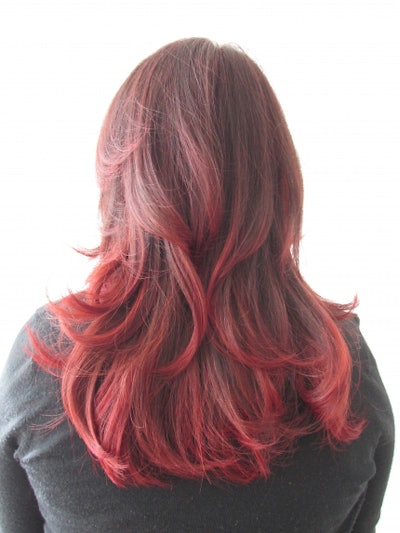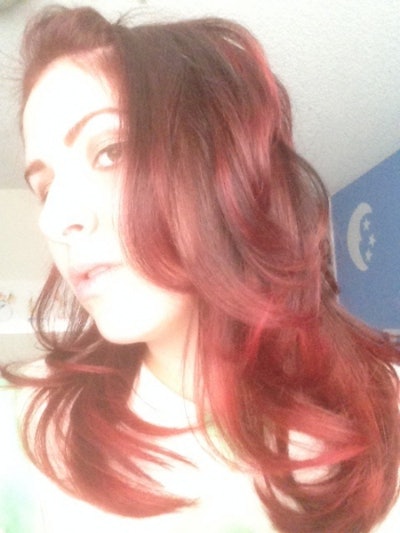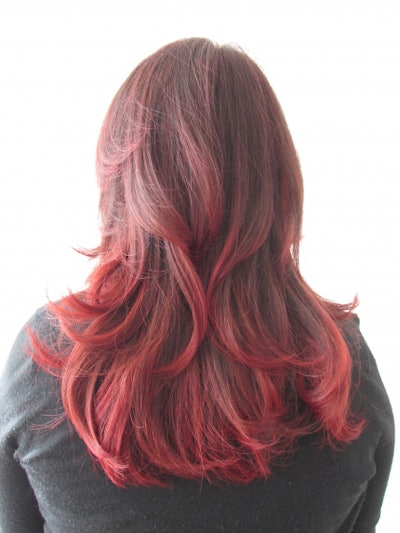
As Sally Hershberger gurus Bianca Hillier and Nicolas Flores (colorist and stylist, respectively) showed me, the answer was no; my hair wasn't resistant, it just needed the proper encouragement!
Here, the magicians behind the new 'do share their tricks of the trade, step by step. Stay tuned for the before-and-after shots!
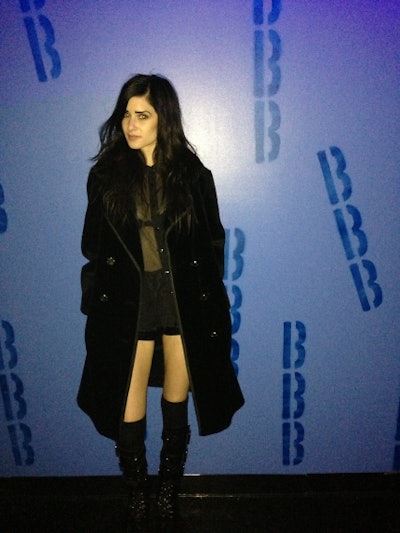
1. First, prep the hair with moisturizing leave-in Sally Hershberger Hyper Hydration Super Keratin Spray. Brush with the Shu Uemura Art of Hair Paddle Brush.
2. Next, deepen the base color with ammonia-free L'Oréal Professionnel INOA Hair Color.
3. Balayage highlight the hair using L'Oréal's ammonia-free lightener to get lighter ribboning bits throughout the hair, and add Olaplex to prevent breakage.
4. Gloss the hair with Pravana ChromaSilk Vivids (customized with whatever blend you choose) to give you that deep red vibrancy and fluency throughout.
5. Use Olaplex Conditioner and L'Oréal Powerdose as an in-salon treatment that prevents and heals any damage; it also seals in the color and hydrates the hair.
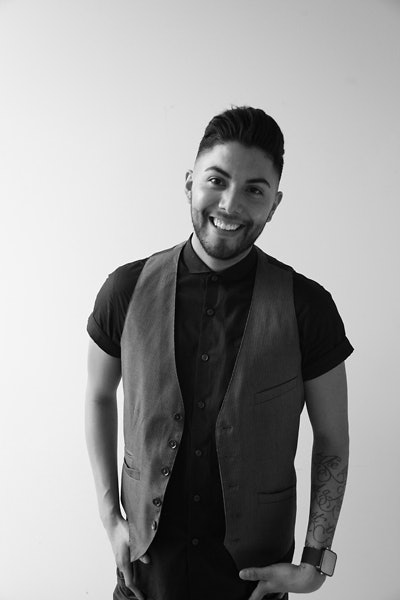
1. After a good shampoo and a bit of conditioner (distributed from midlengths to ends), section the client from ear to ear going over the crown of the head, pushing both right and left sides of the hair forward and leaving the back completely combed out and falling straight down.
2. Cut to the client's desired length. After getting in a straight line, comb both sides down and cut both sides to the new length of the back. Once length is all even, create a "face frame," which is layering around the face. Going forward, start layering the rest of the hair in a way that best suits the client's natural texture as well as their day-to-day lifestyle.
3. Once finished, prep the client with necessary products for a long-lasting blowout. Use Sally Hershberger Supreme Lift, a miracle product that adds in volume at the root, and Plump Up on the lengths of the hair, which acts as a thickening mist. Follow up with Sally’s Hyper Hydration Spray Serum, which is genius to tame frizz, add in shine, and controls flyaways. Note: When spraying the serum, a little can go a very long way.
4. After all product is applied, take a wide-tooth comb and comb through all product to evenly distribute. If the client has a straighter natural texture, go throughout and rough-dry about 85 percent. If she has thicker, more coarse hair, do not rough dry. Rough drying thick curly hair can create a lot more frizz, which will make your blow-dry that much harder to smooth.
5. Once you're all ready to start blow-drying, take a smaller to medium round brush (my all time favorite is Ibiza Brushes; Ibizas have a soft cork handle that provides comfort for your hand and the boar bristle brushes add in extreme shine and have a great grip!) and section your fringe into the crown area, followed by the two sides, and last the back.
6. Once the hair is sectioned into five, start at the back of the head and drop the back bottom section and work your way up. After finishing the back section, start on either side of the head. And last but not least, work on the crown section. From the crown section, work your way toward the fringe. You should now be all done and have a great cut and gorgeous blowout!
BEFORE
